Every time we open up Pinterest or Instagram, all we can see are pictures of gorgeous tousled curls. Loose waves are so trendy because they have a “perfectly undone” look about them. However, recreating the look can be extremely difficult if you don’t know the insider tricks that only hairstylists know. Lucky for you, we have put together this tutorial, so you can easily style perfect loose curls every day!
We’d love to see you in the salon. Let us take care of the flawless curls while you unwind. Whether you’re in need of a stunning up-do or if you simply need a blow out for a busy day, we’ve got you covered. We can’t wait to see your shining face at Jyl Craven Hair Design!
Step 1: Prepare
The first (and arguably) most important step for curling your hair is to prep with the right materials!
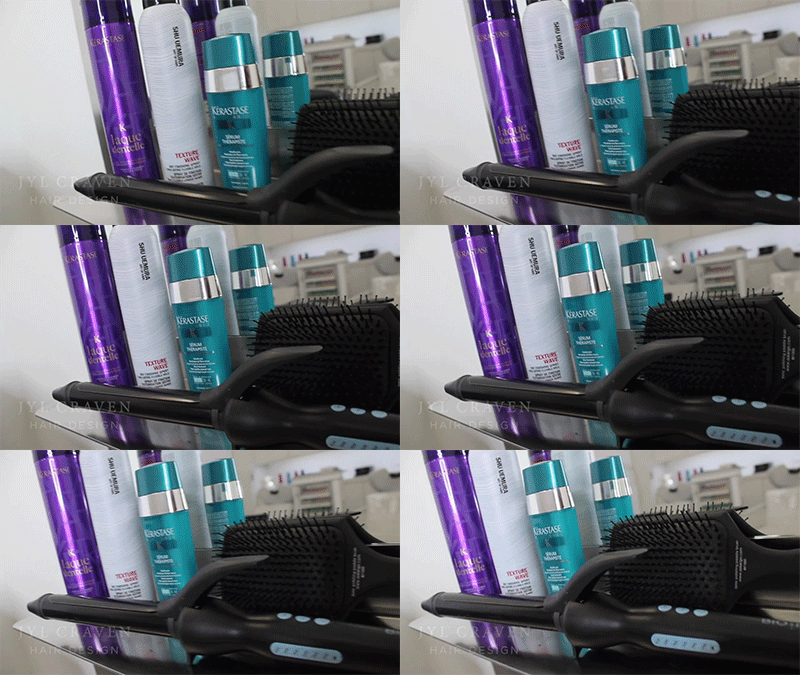
For this tutorial, we use:
- Primer: Kerastase Serum Therapiste, which repairs very damaged hair fiber, is a heat protectant with 450°F thermo-protection, loaded with essential nutrients for healthy hair, and has a soothing texture for itchy scalp.
- Texture Spray: Shu Uemura Texture Wave Texture Spray, which offers long-lasting flexible hold while providing an airy finish from mid-lengths to ends while increasing hair volume at the roots. Great for second-day hair and perfect for creating beach waves with grip and hold.
- Hairspray: Kerastase Laque Dentelle Hair Spray, a flexible long-lasting hold, heat protectant with UV filter and humidity-resistant, and anti-frizz.
- Curling Iron: Bioionic Long Barrel Curling Iron, which has a 2″ longer barrel than average for longer hair and makes it easier to style the back of the head, a cool touch grip for easy curling, and variable heat setting for various hair types
Step 2: Add Product
Since you will be using heat on your hair, a heat protectant is perfect for protecting your locks from damage AND repairing the damage that is already there! Use 1-2 pumps of the serum on mid-lengths to ends of your hair.
Step 3: Section Your Hair
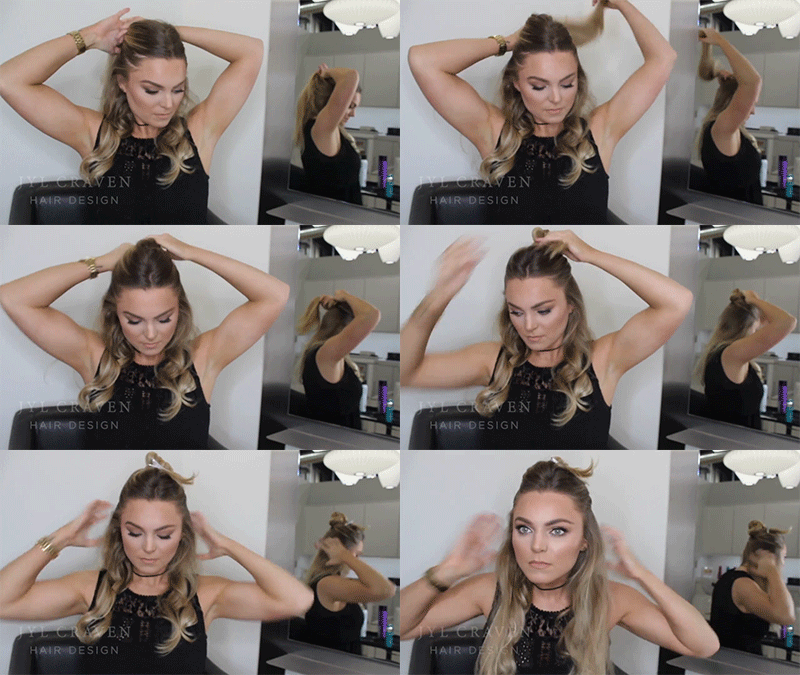
All you need is a clip to section off the top half of your hair. You will curl that part after you are finished with the bottom half. This helps you get more even and fuller curls, as well as making sure you don’t miss a strand!
Step 4: Curling Time!
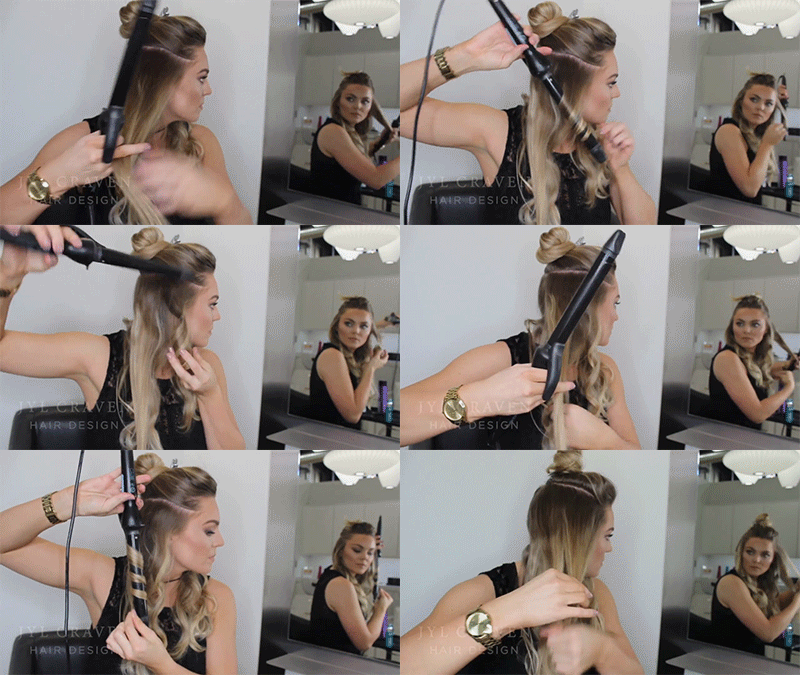
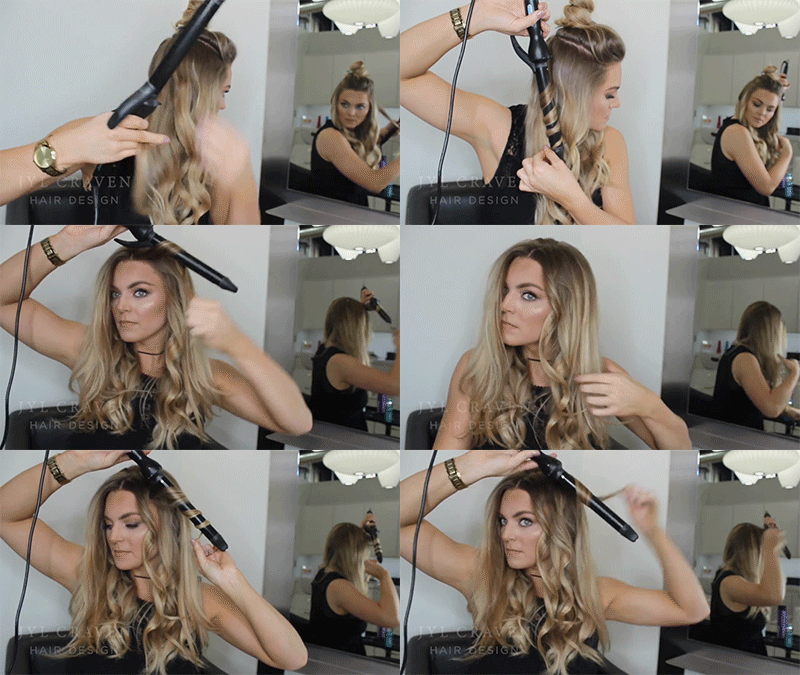
Separate your hair into 1-inch strands and wrap them around the curling iron. No need to use the curling iron clip! Interchange wrapping your hair away from your face and towards your face, with the top of the iron pointing down. Once strained is wrapped, leave the bottom inch of your hair out. Wait a few moments and remove the hair from the curling iron and use your hand to hold the curls in place for a few seconds as they cool. This ensures a perfect curl.
Once you are done curling the bottom half, take another section from the clipped part of your hair, and repeat. Then, take down the final top section of your hair and repeat one final time.
Step 5: Texturize
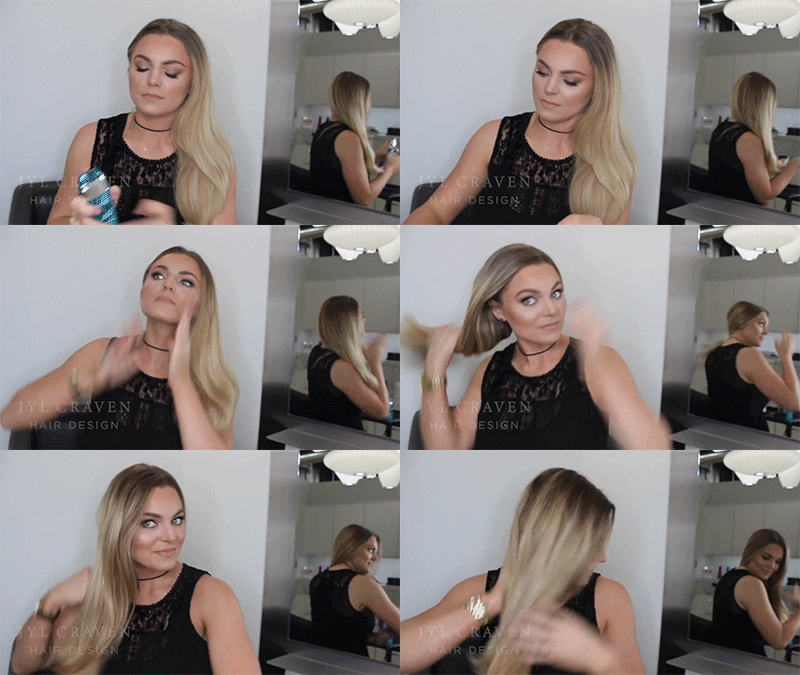
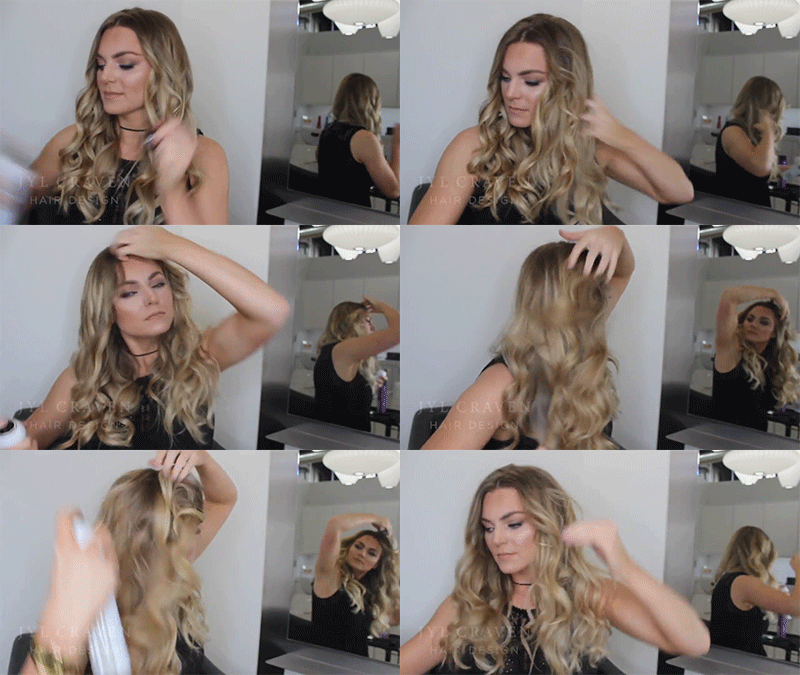
Once your hair is curled all the way through, it is time to use a texture spray. Spray throughout your curls and use your fingers to separate and add texture and volume.
Step 6: Set and Go!
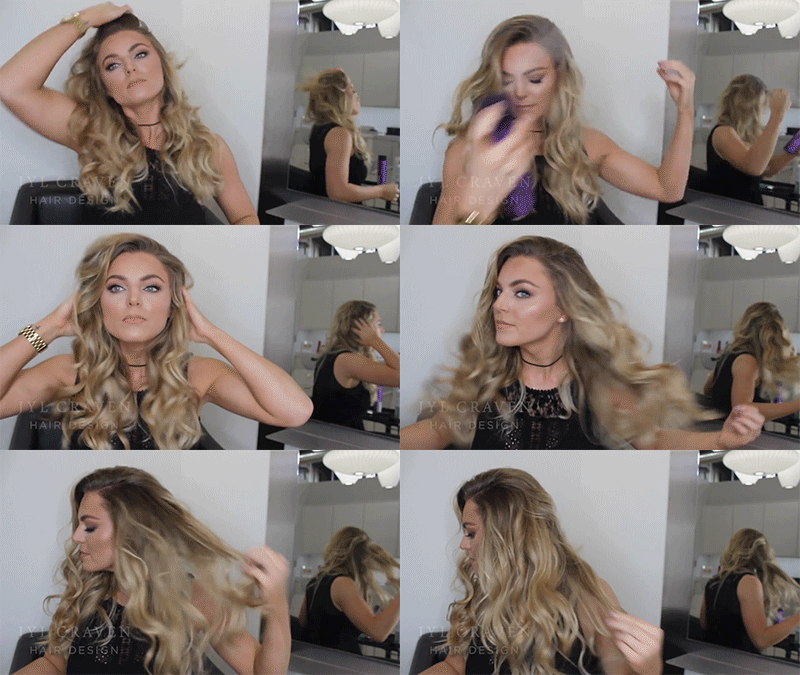
Run your fingers through your hair to make sure the curls are loose and exactly how you want. Then, use a hairspray to set your curls, and you are ready to take on the day!
Watch the Full Instructional Video Here:
Sign Up For Our Emails!
Want to have our blog posts sent directly to your inbox? Then sign up below for exclusive access to what’s happening in-salon!
Directions
From I-75N take Highway575N to exit # 14 Holly Springs Pkwy. Turn left off the exit and go approximately 1 mile (4th traffic light) to Butterworth RD. and turn left. Take Butterworth RD (approximately 2 miles) until it dead-ends into HWY 20 / Knox Bridge Highway. Turn left onto HWY 20. Jyl Craven Hair Design is approximately ¼ mile on the left.


